
In this article, we are going to see how to install docker in Redhat Enterprise Linux and learn some basic operations with docker commands.
This article will helpful for Beginners
What is docker?
Docker is one of the most famous and commonly used Open Source containerization technology, this docker technology is used to build by some features of Linux kernel which Cgroups and namespaces, these features are used to isolate the containers between one another that’s why containers can run the more number of the process efficiently.
What is the image or images?
let me explain the legacy operation to you to understand, what we do for operating system installation, we should download the image file of the operating system and then we do the installation. the same thing here also we do, if you want to run ubuntu, centos or any other Linux based OS environment and also you can download official predefined and installed application images like WordPress, Nginx, MySQL, Oracle, MongoDB and run that image as a container.
What is Docker Hub?
What is Docker Hub?
Docker Hub is a Docker community centralized repository, we can download/Pull the image from docker, and also you can save your customized images from your local docker engine to your docker hub account, by this you can download your image from anywhere.
Action 1:-Readiness setup of the Host machine
Prerequisites to install docker in the Redhat Linux.
- if you are windows user, you can install docker directly, but we are installing docker in Redhat Linux so you may install VMplayer, Microsoft HyperV or Oracle Virtual box to install RHEL in your windows system.
- Atleast you must have 4 GB ram of the system to see the better performance.
- Subscribe your RHEL OS to install Redhat packages from the RedHat repo using yum or configure yum. Without yum install, it may take more time to install because of the dependencies.
- You should run following prerequisite commands if you are not a root user, use sudo before the command to run as superuser. -->

- To download docker engine from the docker repo, you should configure Docker repo by using below command -->
- Below command used to enable more rpm dependencies to install from RHELl repo and docker repo. Without enabling you can get an error to download the docker engine.
subscription-manager repos --enable=rhel-7-server-extras-rpms
yum-config-manager \ --add-repo \ https://download.docker.com/linux/centos/docker-ce.repo

Action 2:- Docker setup and download the image and run as a container.
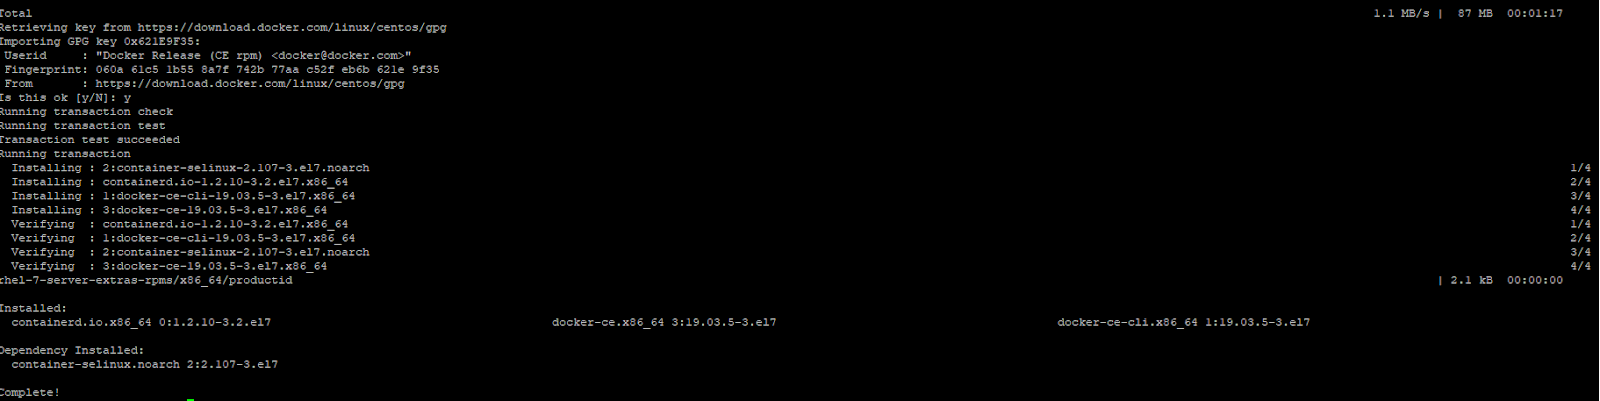
After completing the pre-requisites, to install docker by running the following command -->
yum install docker-ce docker-ce-cli containerd.io
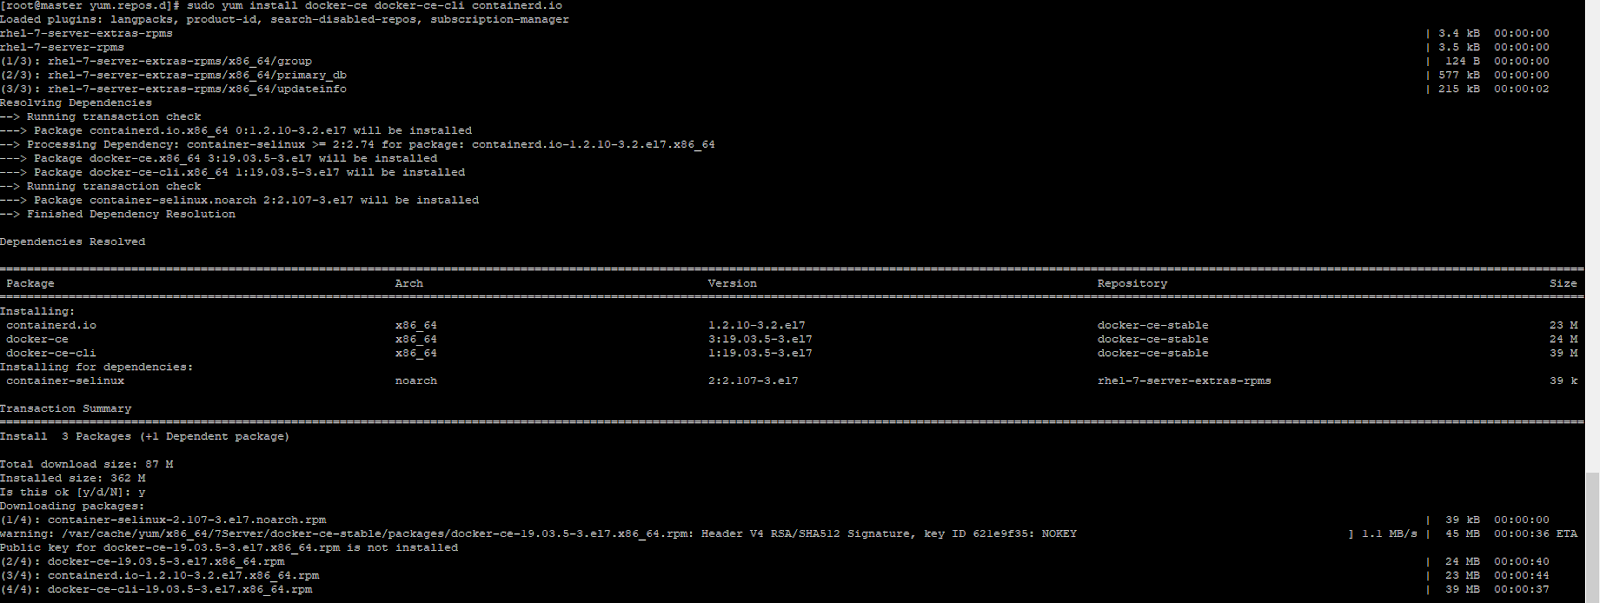
After completing the installation you can see the below completion snapshot.
To Run the Docker, run the command --> systemctl start docker
After starting the docker service you need to download the docker image, so to Pull the ubuntu image run the command --> docker pull ubuntu

To check image downloaded or not run the command --> docker images

To run the downloaded image as container run the command --> docker run -it -d ubuntu
To list the container run the command --> docker ps
To login to the image run the command with container ID --> docker exec -it container ID bash

To run the downloaded image as container run the command --> docker run -it -d ubuntu

To list the container run the command --> docker ps
To login to the image run the command with container ID --> docker exec -it container ID bash

Action 3:- How to clone container
From this step, we are going to login to another container and create a folder and make that container clone as an image, and then run the clone image then we are going to check whether that folder is available or not.let’s start!!
Login to container and list out the folder using the command--> ls
Create a new folder --> mkdir corner and check the folder is created or not.
To take container as a clone image and use at any time in future purpose.
Exit the container and run the command--> docker commit container_ID and name what you want to save the container as the image
I have given the command --> docker commit c7e807794fe3 corner
Let’s check the image was created or not.

Oh, great image has been created successfully!!
Anyway, we need to assure that the image contains that created folder or not, to check that we should run the container. using the following command docker run -it -d corner
Run the command for log-in to the container --> docker exec -it cde5154dda2e(container ID) bash and list out the folder using the command --> ls

Action 4:- How to install a service and allow ports to the container to access the service from outside
Before you start installation in a newly created container you should run the update for any type of OS container for ubuntu --> apt-get update
After update --> Run the command to install the apache2 service apt-get install apache2 to run the apache 2 services using the command --> service apche2 start

I have given the command --> docker commit cde5154dda2e apachegokul to convert apache installed container to an image.
To access the apache2 service map container port 80 to host port 8080 or any other free port and run the image as a container.
Login to the container using the command docker exec -it 4e948138a213 bash
After login run the apache2 service using the below command service apache2 start.
To check apache server is accessible or not--> go to the browser and run the docker installed host IP address:8080

Oh, great it's working fine!!
Action 5:- How to Push docker image to docker HUB
Next, we are going to see how to push your docker image to the docker hub.
First, you need a docker ID, if you don’t have to go to link → https://hub.docker.com/create new account
To List out the images --> docker images
Choose and Tag which image you want to upload to your docker hub, I want to upload apache installed image docker hub.
so I am going to tag my apchegokul container image as flyahead/apachegokul using the command --> docker tag apachegokul flyahead/apachegokul

Choose and Tag which image you want to upload to your docker hub, I want to upload apache installed image docker hub.
so I am going to tag my apchegokul container image as flyahead/apachegokul using the command --> docker tag apachegokul flyahead/apachegokul
After tag you should login to docker hub using the command -->docker login --> give docker ID and password

Now you can see below image the docker image uploaded to my account successfully.

Marveling at ZLUDA features, I noticed its seamless integration with GPU workflows. The website includes step-by-step guidance, troubleshooting tips, and examples of practical usage. ZLUDA simplifies complex processes, making high-performance computing accessible, efficient, and reliable for developers across different platforms.
ReplyDeleteFascinated, I tested DIRSEARCH and observed its capability to scan web directories comprehensively. The website provides step-by-step guidance, examples, and troubleshooting tips. DIRSEARCH allows cybersecurity professionals to identify hidden resources efficiently, delivering accuracy, speed, and reliability throughout security testing processes consistently.
ReplyDeleteGratitude fills me when I discover SFTPGo’s exceptional features. From secure connections to advanced automation, the website presents thorough guidance and easy navigation. SFTPGo continues to simplify complex tasks, providing both beginners and experts a trustworthy tool for managing files efficiently.
ReplyDelete